Close

Lining a Crocheted Oven Mitt

A few weeks ago I shared my crocheted oven mitt project that I made from a recycled cotton bed sheet. At that time I hadn’t been able to line the oven mitt but I just got the lining done and wanted to present the photo tutorial.
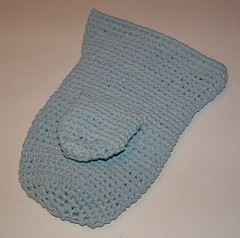

Here is my finished product with the lining sewn inside the t-yarn oven mitt. This lining project would work for any crocheted or knitted oven mitt.
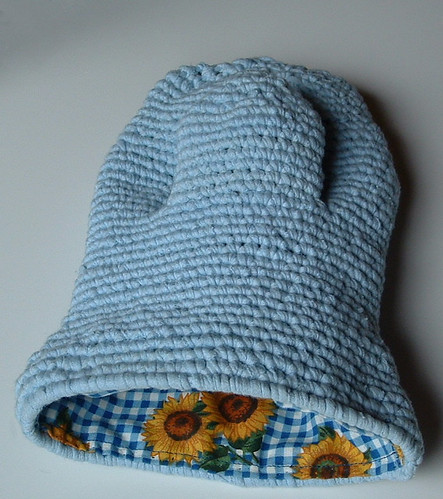
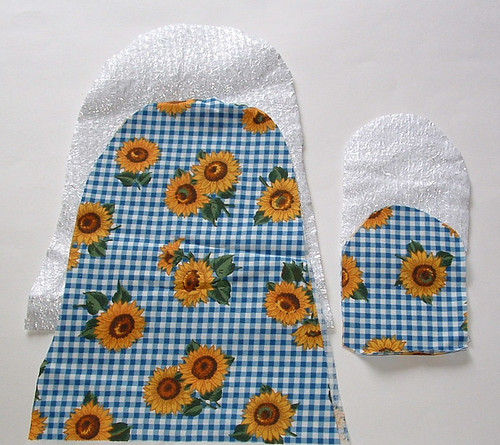
The first step in this lining project is to lay out and cut your lining fabric and heat protection material. I used some scrap fabric that I had on hand along with a piece of Insul-Bright insulation material. Insul-Bright is an inexpensive material that provides heat protection and is designed for use in oven mitt and potholder projects. You just need enough fabric to cut out two oven mitt shapes and one shape from the insulation material. You need to cut out two thumbs from the printed lining fabric and the insulation material.
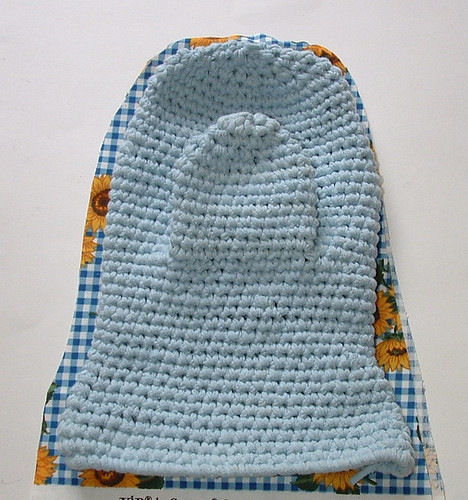
Next step is to
Newspaper Bags Recycled into Plarn

This tutorial shows how you can recycle plastic newspaper bags into plastic bag yarn or plarn. Converting these narrow plastic bag sleeves into yarn is very similar to cutting retail bags to make plastic bag yarn. I have create a picture tutorial outlining the steps below. This method can be used for any narrow plastic bags like newspaper sleeves, English muffin bags, packing pillows and any other skinny plastic bags. The result is short plastic loops that can be joined into one long continuous strip for crocheting, knitting, or weaving.

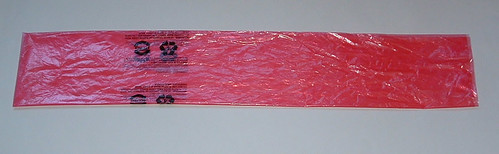
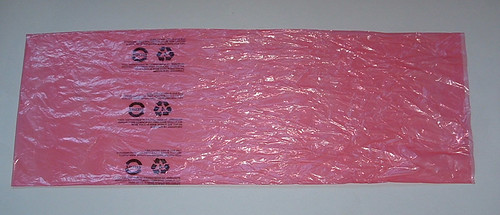
First step is to take the newspaper bag which measures 7-1/2″ wide x 21″ long and flatten it out.
Click on any photo to supersize

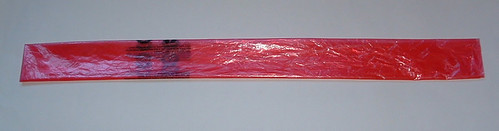
Step 2 is to fold it in half lengthwise.

Step 3 is to fold it once more lengthwise. Now you are ready for the cutting stage.

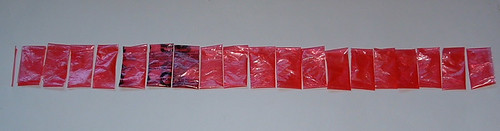
Step 4 you cut strips 1 inch wide across the short length of the bag. This creates 1 inch wide loops of plastic.

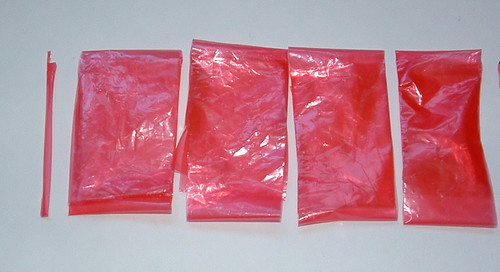
Step 5 is closeup of the 1 inch wide plarn loops. Because the end is sealed off, cut a very thin strip at the end of bag to open up the last loop.

Step 6 shows how you interconnect the loops and then pull the knot tight.

If you cut the strips about 1 inch wide, it will result in about 19 loops per newspaper bag. Once joined together, this nets about 3-3/4 yards of plastic bag yarn per newspaper bag. Continue to add loops to your chain of plarn rings to make your recycled plastic bag yarn for whatever crafting project you may have in mind.

Working Plarn in the Round

As you may know, many of my crochet patterns are worked in the round and without joining. This has become a very popular and handy way to make crocheted bags and rugs so you do not need to count rows or use stitch markers. I have had several people contact me asking for clarification on how to work in the round. So I taken a few pictures and created this picture tutorial which hopefully new crocheters and other crafters who are not familiar with this process can benefit from my tutorial.

I have chosen one of my favorite patterns and will illustrate how to work plastic bag yarn or plarn in the round. Here is my signature recycled bag purse pattern which is crocheted in the round.

The first step is to chain 26 for this particular pattern.

Hdc in 2nd chain from hook and in each stitch down to the end.

Homemade Hummingbird Food

I made my own hummingbird food this weekend. The hummingbirds just love my homemade juice. They are drinking it up so fast I can’t believe it. In the past I had the red granulated mix that you buy from the store, but this week I ran out. So I tried my own homemade brew for the birds. I used the 4 to 1 mix which is 4 cups water to 1 cup sugar. I did not use food coloring and the birds don’t seem to care at all. They are still attracted by the red on my feeder and don’t need any artificial coloring.

Just check out these shots of one of my girls enjoying her natural hummingbird food. So if you feed hummingbirds, please consider making your own diy food. It will save you money and the hummingbirds will love your homemade brew!

My Recycled Business Cards

Ever wonder what to do with all that junk mail? Some of it is very pretty — like those colorful gardening and flower magazines. Well I’ve been saving them along with old greeting cards, cereal boxes, and other junk mail to create my own recycled business cards and tags.

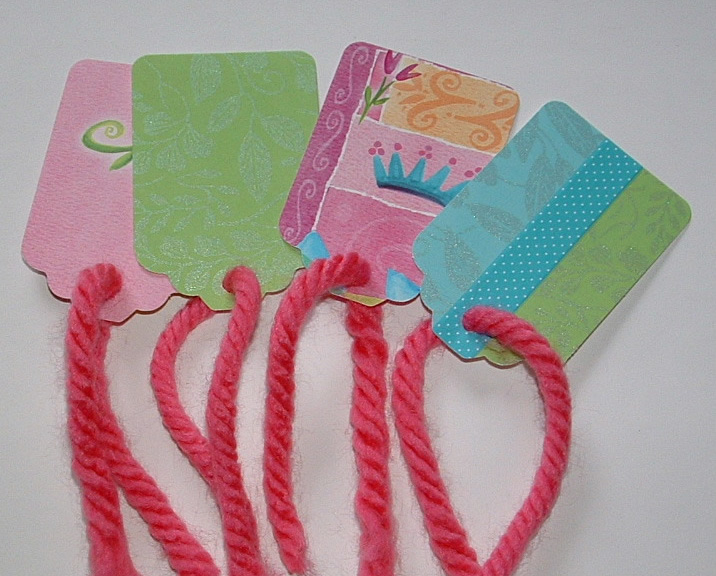
Here are some tags I made using old greeting cards and junk mail. I cut out the tag shapes using this die-cutter I purchased. I then used my green line stamp to stamp the backs of the tags creating my business cards. I chose to use a tag shape as I can use these to attach to my products as well as use them as business cards.

Above are more flower catalogs and greeting cards that I cut using my die-cutter. I plan to use these as gift tags for birthdays and Christmas. Just punch a hole at the top and attach a piece of yarn or ribbon to finish off the recycled gift tags.

So whether you need business cards, gift tags or both, consider recycling your junk mail and cards. They are very pretty and unique tags and a wonderful way to make your own business cards.