Close

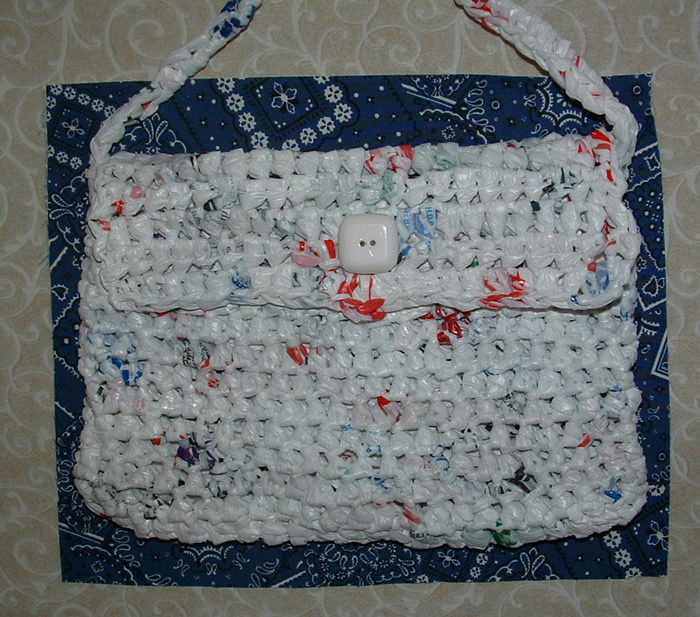
Lining a Crocheted Plarn Purse

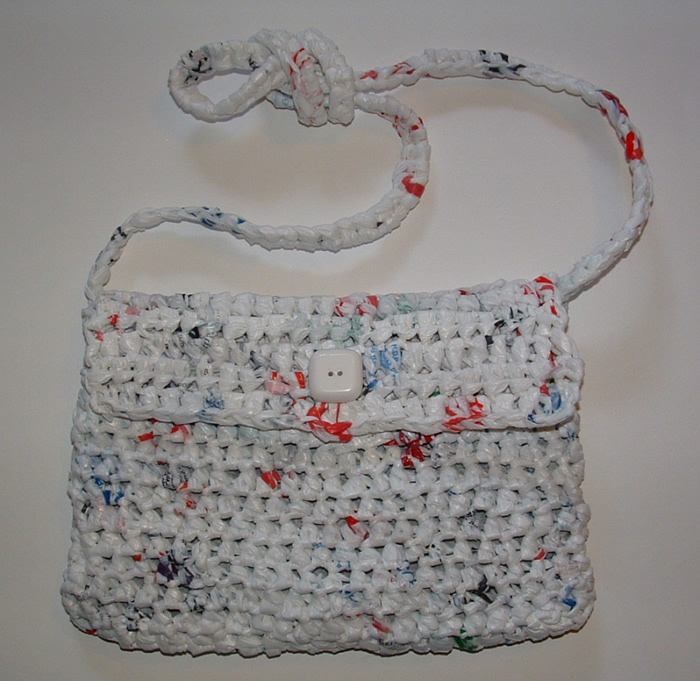
I wanted to line this crocheted plarn purse and share the tutorial on how I line purses and bags that are made from recycled plastic bags. First I want to say that I am not a seamstress. This lining project is very basic and is a no-frills way to line a crocheted plarn purse.

First you need two pieces of fabric just wide enough for the bag to fit over with a little extra up top for your finished edge. Using recycled fabric, scrap material or whatever you have on hand will work.

I had a small piece of leftover fabric so I used it for a pocket for the inside of my lined purse.

Making T-Yarn from Recycled Tee-Shirts

This is a tutorial on how to make T-yarn from old recycled tee-shirts. T-yarn maybe a new term to you. T-yarn or Tarn is what the yarn is being called that is made from cutting t-shirts into strips for crafting.

The best t-shirts are ones that do not have side seams as you can cut around and around starting at the bottom. First cut off the hem and then with a sharp pair of scissors cut strips about 1/2″ to 3/4″ wide. Cut in one continuous strip as I have shown here.

All photos are clickable to supersize them


I stopped at the armhole openings as this was the end of my continuous strip that is completely one piece cut in rounds. You can cut off the sleeves and start another continuous strip at this point but it’s not as smooth as the main body because you will have curves in your strip where you have to turn the corners.


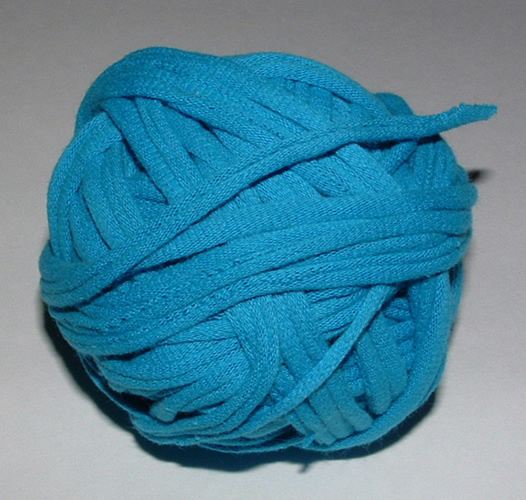
To create the circular T-yarn, you gently pull on the strip. I found the best way to do this is by taking a short length about 1-2 feet long and stretching it. The stretching causes the tee-shirt strip to turn in on itself thus creating your rounded T-yarn. One important warning is not to pull too hard otherwise the strip breaks. I did have this happen on my first attempts so be advised to gently pull on the strip until it won’t stretch any further. Then you move to the next section of your strand and stretch it again. Continue stretching your strip until the whole long continuous strand has been stretched and is curled as shown in the photo.

Click to supersize
Here is a small sample of what the curled T-yarn looks like when you crochet with it. It’s smooth to work with and has a nice finished look. You can either crochet or knit with the recycled yarn that has been created. This circular T-yarn would make excellent potholders, trivets and of course is perfect for a recycled tote bag. One large tee-shirt netted about 90 yards of T-yarn once stretched. So grab your crochet hook or knitting needles and experiment with this recycled material to create some wonderful eco craft projects.
Recycled Paper Bag Mailer

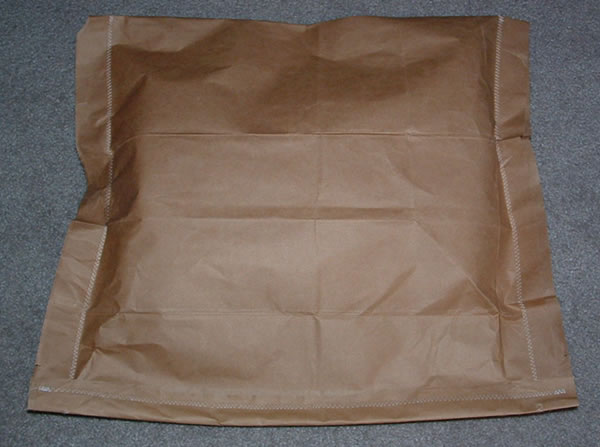
Ever need a large envelope for mailing? Well I frequently need large mailers for some of my recycled bags I ship. Here is a tip I wanted to share on how to make your own paper mailer from a recycled brown paper bag.

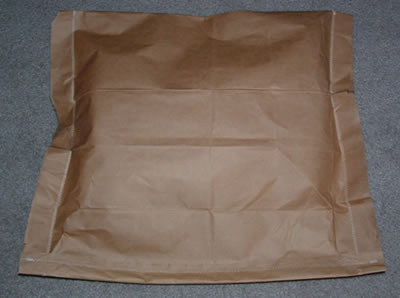
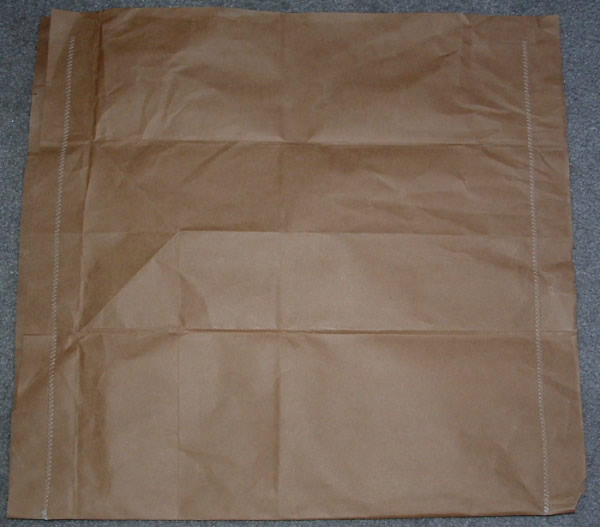
I cut the end off the bag and folded it in half. I then stitched up the two sides using the zig-zag stitch on my sewing machine. I left the top open to insert my items for shipping.
Click on photos to view full-sized

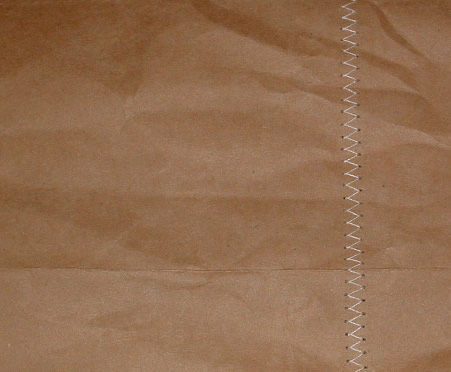
Here is a close up of the stitching.

After putting my items inside the bag, I then folded over the top and stitched my mailer closed. You can also glue around the edges for extra strength if needed. My recycled paper bag mailer is now ready to address and take to my post office for shipping.

My Greenie Pot Scrubber

I’m excited to share a little project that I have been experimenting with. You know those little green netting sleeves you get your lettuce in? Well, I’ve been trying to think of a good craft recycling project that I could do using the netting. Here is my result.

It is an eco-friendly greenie that you can scrub your dishes with. The cotton with the recycled green netting is very scratching and works well as a scrubbie. It measures 4-1/2″ by 4″.

Here is a mini tutorial on the prep for the green netting bags.

Lay out the green netting bag and I used a paper clip to hold the end closed.

Next cut the bag in strips across about 1 inch wide.

Recycled Plastic Hanger Cover

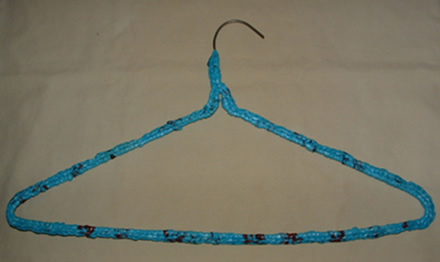
Want to cover up those old metal hangers? Do you have some old chipped up hangers that need a new look? Here is a quick and easy method using recycled plastic bags. First you need to create some plarn or plastic bag yarn. Here is the link on how to make the yarn using recycled plastic bags. You only need about 5 bags or so to complete this project.

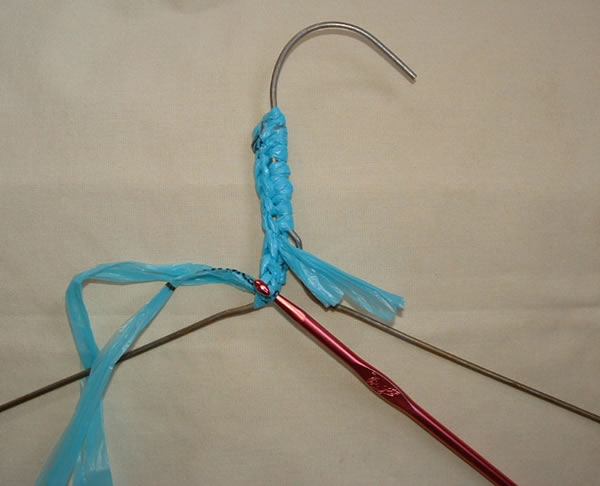
Using a “H” US crochet hook, join your yarn at the throat of the hanger with a slip stitch. Single crochet (sc) around the entire hanger ending back at the beginning of the hanger throat. Fasten off and use the ends to weave in around the hanger throat to make a nice smooth finish to the hanger cover.

Here is a close-up of the beginning to show in detail.
Click to view full-sized

Be creative and mix or match your plastic bags for unique hanger covers. Once your old hangers are covered, these are very handy for line drying items.

This is a great way to recycle old metal hangers and give them a new colorful life while saving them from the landfill!