I’ve been busy lately crocheting more hats for the Warmth for Warriors group. One of my on-line group friends crocheted a cute hat using a ribbed stitch style that I really liked. After some help from Ellen, I finally got the pattern created. Below is the written crochet hat pattern that I created featuring the ribbed band that was inspired by Ellen from our Ravelry group.
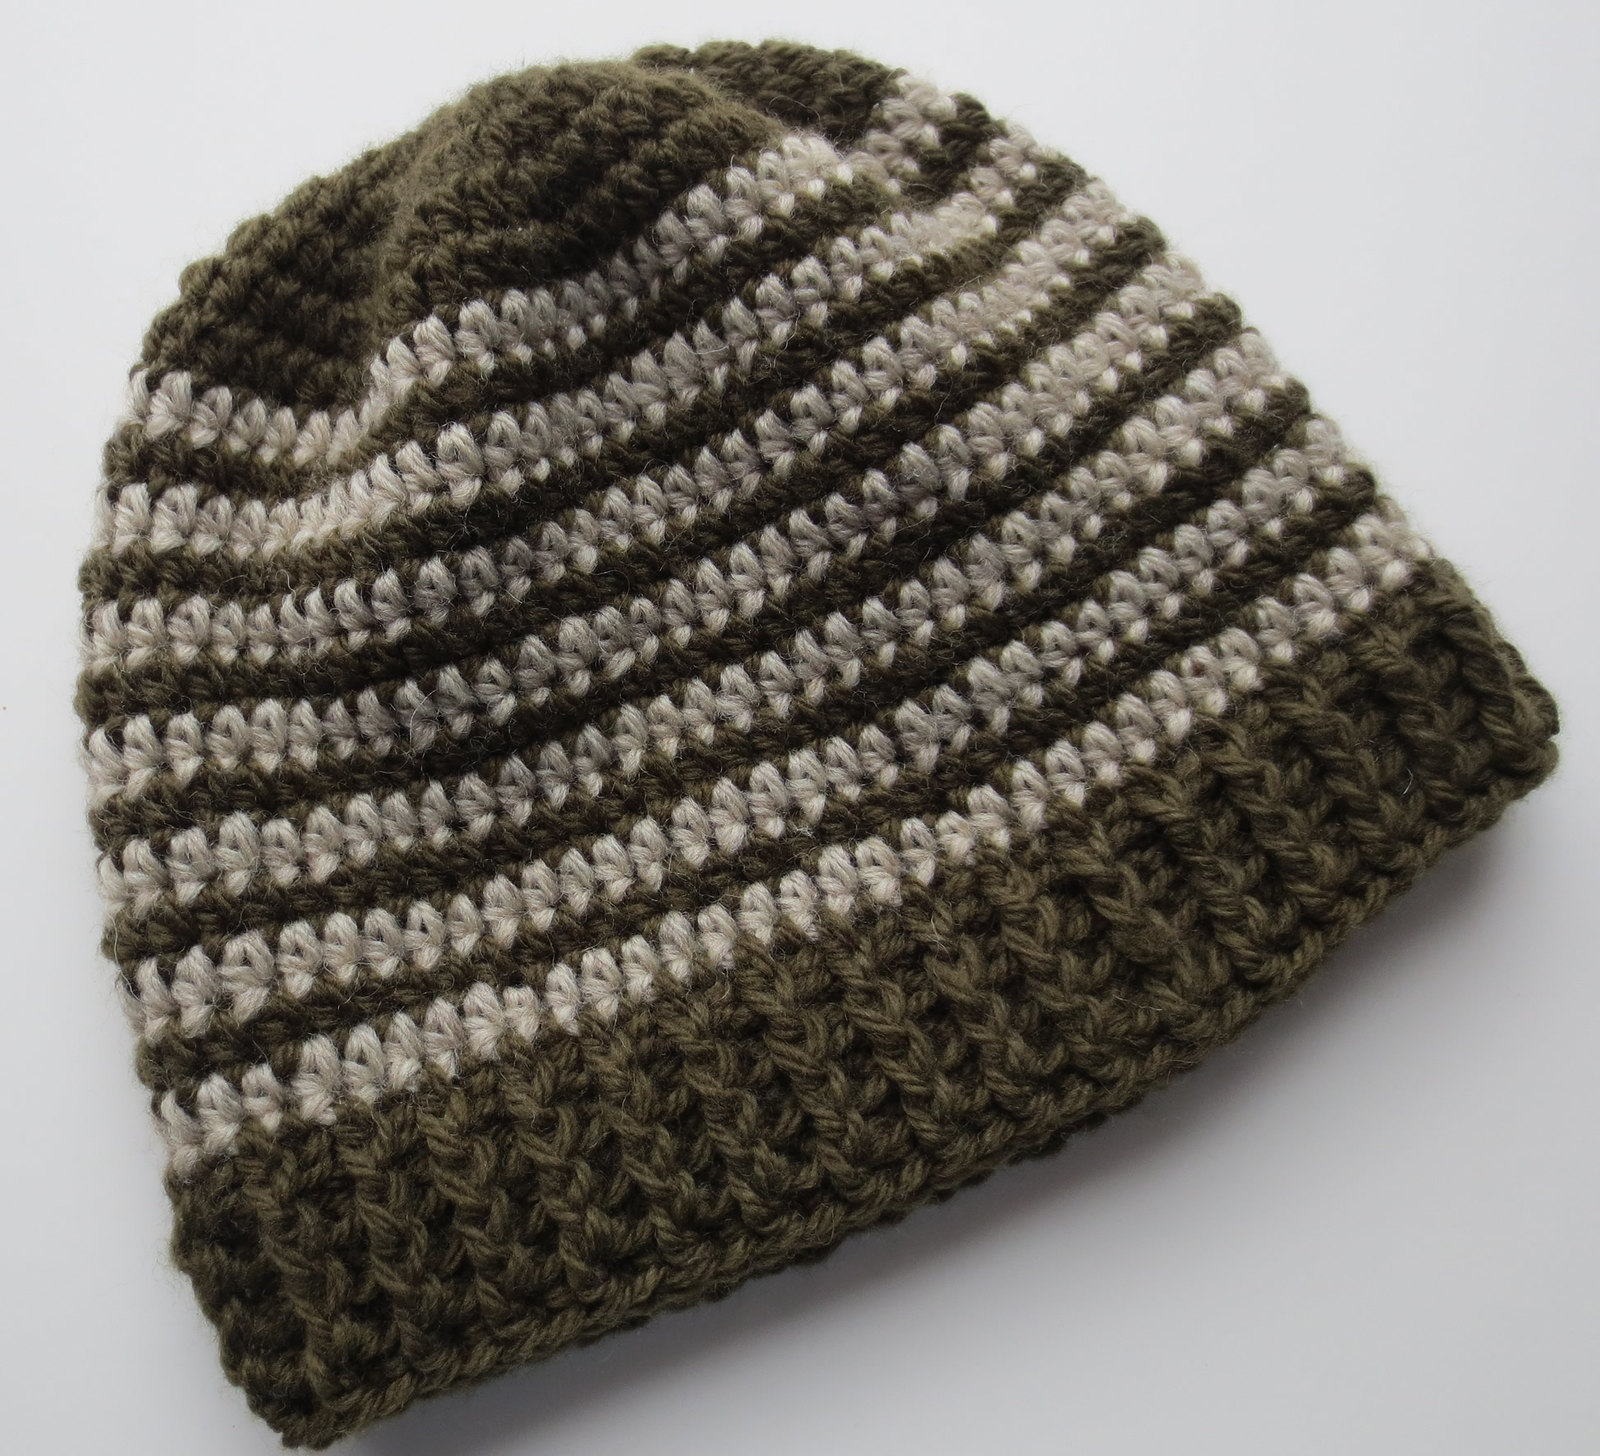
The two-toned wool hat is my favorite using the crochet pattern so far. I used the pattern below and at round 7 switched from the olive green to the oatmeal colored wool yarn. Then you alternate every other round in the two colors ending at round 20 with the olive green yarn. I carried the yarn not in use behind by just dropping it at my joining slip stitch. When you come back around you just pick up the dropped color at the slip stitch.
At row 21, I began the ribbing with the olive green wool. Make sure you use the same color in round 20 that you use for the ribbing so the first round of ribbing matches that you are working the front and back posts around.
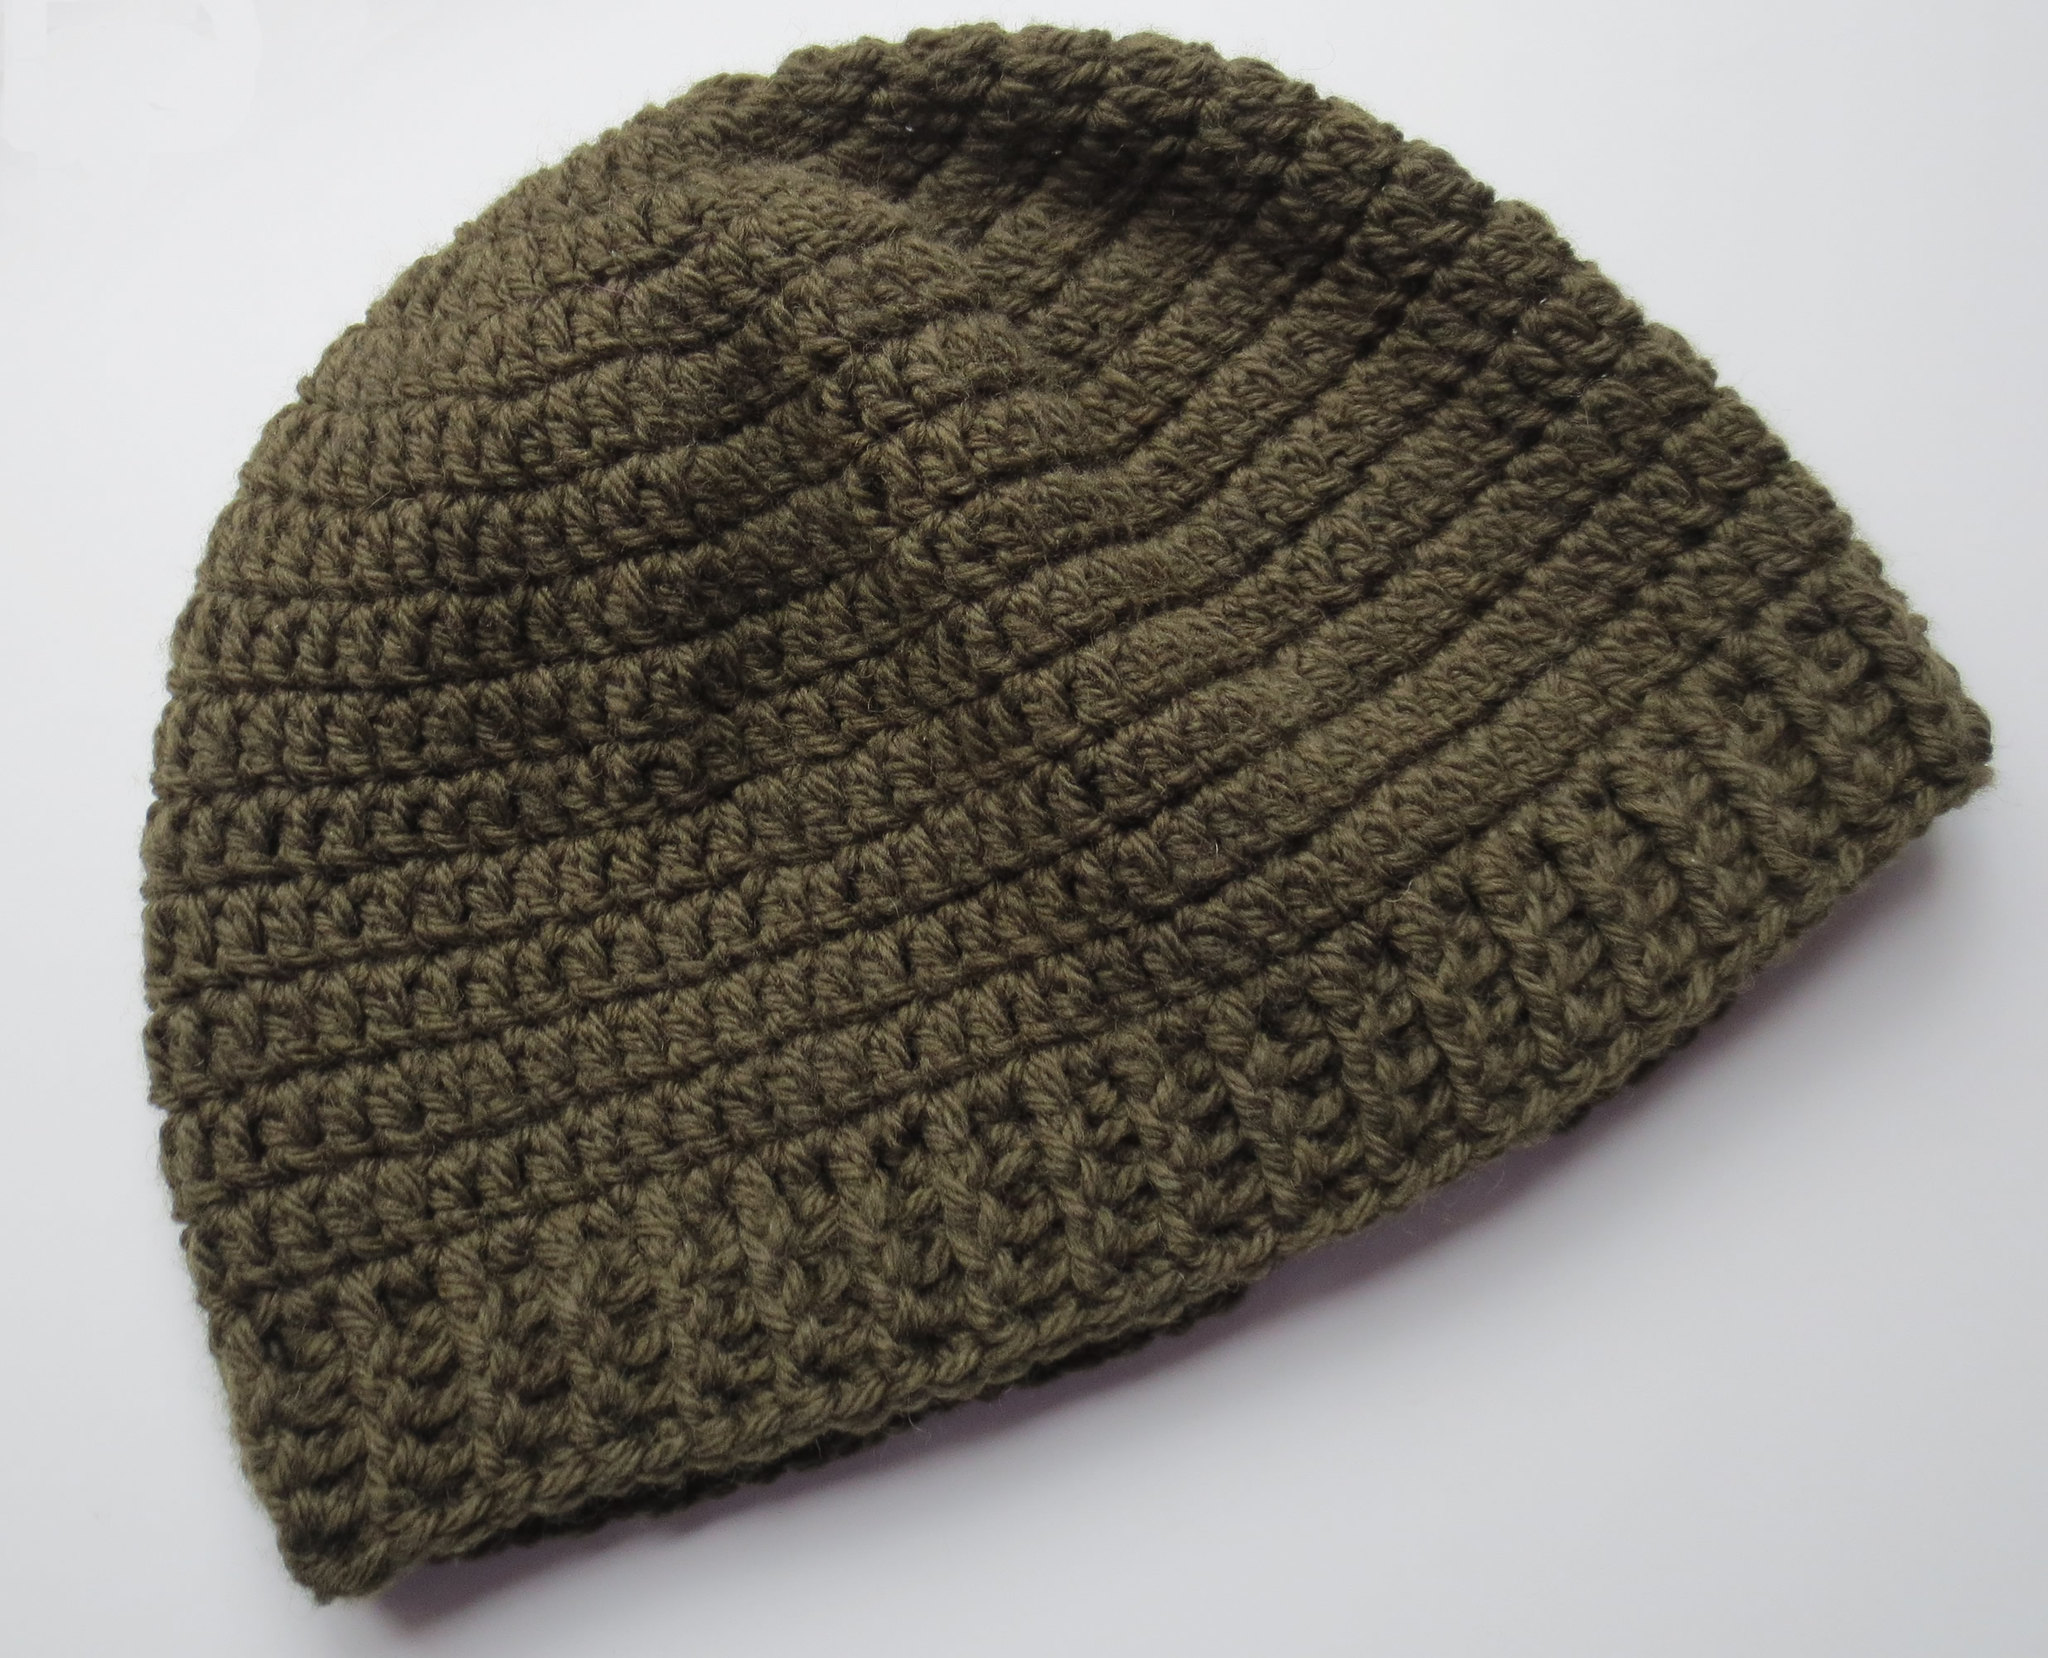
Here is another version of the ribbed hat and in an extra large size. This one is crocheted all in one color and was designed more as a helmet cap to fit under a soldier’s helmet. I started with 16 double crochet (Dc) stitches and only went to round 15 following my original crocheted helmet hat pattern. I then added the ribbing rounds to complete the hat. It measures 23″ for a circumference and is 8-1/2 inches long.
As you can see you can change up the pattern’s fit and look by working in half-double (Hdc) or double crochet (Dc) stitches. And by working in stripes or all in one color of yarn. I have also included changes to crochet this hat for a child’s head size.
Have fun with the pattern and as always happy crocheting to all.
Crocheted Ribbed Hat Pattern
Finished adult ribbed hat measures: 22″ circumference by 9″ long
Finished child ribbed hat measures: 18″ circumference by 8″ long
Children size hat instructions in italic below.
Hook: H (5 mm) US sized crochet hook
Materials: 2-3 ounces Wool or Worsted Medium Weight Yarn
(2 ozs of yarn for solid color and 1 oz of contrasting yarn for stripes)
With H hook, Ch 4 and join to form ring. Hat pattern is worked in the round without turning.
Rnd 1
Adult sized hat, Ch 2, work 13 Hdc in ring. Join with Sl St to beg Ch-2. (14)
Child sized hat, Ch 2, work 11 Hdc in ring and join as above. (12)
(Ch-2 counts as first Hdc st.)
Rnd 2
Ch 2, Hdc in sm st and 2 Hdc in ea st around. Join with Sl St to beg Ch-2. (28) (Child: 24)
Rnd 3
Ch 2, *2 Hdc in next st, Hdc in next st*. Repeat between * around Join with Sl St to beg Ch-2. (42) (Child: 36)
Rnd 4
Ch 2, Hdc in next st, 2 Hdc in next st, *Hdc in the next 2 sts, *2 Hdc in next st*. Repeat between * around Join with Sl St to beg Ch-2. (56) (Child: 48)
Rnd 5
Ch 2, Hdc in next 2 sts, 2 Hdc in next st, *Hdc in the next 3 sts, 2 Hdc in next st*. Repeat between * around Join with Sl St to beg Ch-2. (70 Sts) (Child: 60 sts)
Rnd 6-20
Ch 2, Hdc in each st around. Join with Sl St to beg Ch-2. (Adult: 70)
(Work only to round 19 for Child: 60 sts in round)
Ribbing:
Ch 2, *work front post double crochet (FP Dc) around Hdc stitch of prior round, then work back post double crochet (BP Dc) around next Hdc of prior round*. Repeat by working FP Dc then BP Dc around. Join with Sl St to top of Ch-2.
Tips: The Ch 2 at start of round is your first BP Dc so your round should end with a FP Dc before you join to the beg
Repeat ribbing round without turning for 4 rounds for adult hat and 3 rounds for child’s hat.

Make sure you FP Dc around the front post stitch of prior round and BP Dc around back post stitch so your stitches are all lined up for the ribbing portion of the hat pattern.
If you have any questions or find discrepancies in this pattern, please email me using contact tab.
Abbreviations:
Ch – Chain
BP Dc – Back Post Double Crochet
Dc – Double Crochet
Ea – Each
FO – Finish Off
FP Dc – Front Post Double Crochet
Hdc – Half-Double Crochet
Sc – Single Crochet
Sl St – Slip Stitch
Sm – Same
St – Stitch
This pattern and its photos are copyrighted by Cindy of My Recycled Bags {dot com} and may only be used for private individual or charity use. No commercial sales of this pattern or photos are permitted. Links to this pattern are acceptable and appreciated. ©2014-2017
****Please do not copy my patterns on your blog site or post my patterns on Internet sites. I do not allow my patterns to be republished without expressed written permission. Posting of my patterns, without written permission is in violation of my copyrights and is content theft.
very nice
Cool hat
Thank you for sharing 🙂 <3
Such a nice design. Great job.
I love these little caps – looks like they would keep my ears warm.
I love that hat very much….Thanks for sharing 🙂
I am at round 5 is it supposed to be wavy or lay flat at this point?
@Kenni – It is a bit wavy at this point but by round 8 or 9 it all flattens out. Let me know how it works out for you but if you keep going you will find it all works out well. Best wishes.
By the picture, it looks like last round is sc or sl st? Or is it rib?
Betsy — It is still the rib stitch, just repeat the ribbing round. Just looks like SC in photo.
the striped hat picture looks like the rounds alternate in different widths but the pattern says hdc for every row. how did you get the thinner/thicker striped look?
Brenda – Each round is Hdc and it is just how it looks with the different colors. The yarn was all the same wool weight. It is just kinda cool how it works out and has this look. Let me if I can help further.
amazing pattern, I love the fpdc and bpdc for the rim. I used this pattern and added ears, eyes, nose and whiskers. I will use this pattern for a long time. thank you for sharing it. Is the written pattern or the finished product not used for resale? I am to understand that it is the written pattern, however I do have a few people who are interested in the finished product. I look forward to hearing from you. Again, I really enjoyed making this beanie.
I love the little caps. Thanks for the Sharing
Thank you! Yes it is fine to sell the hats made from the pattern. I would ask that people provide a link back to the original pattern to show ownership of the written pattern.
It’s my first time making this pattern, so far it is great and easy to follow! I am making the hat for my husband who has a really big head…. I just finished round 5, but I’m wondering if I should make one more round of increasing the stitch, or if that would ruin the overall shape. If I can add one more round of increasing, what count should I do?
Esther – You can make another round and it will just fit looser or maybe just right if he has a big head. It all depends on the yarn as it may be okay either way. It won’t really hurt the shape. Let me know how it turns out.
I have made this hat 100 times . I love it and make it for a nursing home. Thank you so much.
@Cheryl – So glad you shared this. I just love hearing from people who are using my patterns. It is so nice that you make things for nursing homes too.
I wish there was a gauge for this pattern. After finishing round 5 it just doesn’t seem like it will be a 22 inch circumference. After trial 1 of this pattern, and seeing how curled up it was, I ripped it out and started out with double crochets for the first two rows and then went back to half double crochets for the remainder of the hat. It lays nicely now. After round 5, I did a straight round and then added another increase round to ease in the straight part of the hat and to increase the circumference.
@ Melissa – Hope the pattern turned out okay with your mods. I know with some thinner yarns, I do add a few stitches before working even on round 6. The hat generally does fit okay and I’m not very good about gauges. The hat pattern does curl up and that is how I designed it to flatten out after round 5. Thanks for the feedback and hope you do enjoy your hat.
Cindy, thanks for sharing this. The hat looks gorgeous.
What is the sm stitch??
Sm stitch is an abbreviation for same stitch. Meaning you work into the same stitch.
Love this pattern. Made it many times. Thank you!
Thanks for the pattern! I am using it to make chemo caps. My first one came out great with Bernat velvet yarn. Then I switched yarn to a more masculine color but it is bulky yarn. I am on round 6 and now I am worried it will be too thick or stiff. Do you have a different pattern you use for bulky yarn?
@Stacey – Don’t have any bulky yarn patterns but stop at about 7 inches for your round disk to get a 21″ cir hat. It is math using Pi (7 x 3.14) to get to 21 inches. Measure across on your disk when it is flat (before you start to work even) to see how big it will be later. Not sure about being too thick but your use your judgement. Hope this helps.
Can you help on where to get those colors and yarn? Thanks, Carol
Carol – I just use all kinds of yarn. Some yarn donated to me and others I buy like Red Heart or Hobby Lobby Yarns. You can find stuff at Walmart too. I am not picky when it comes to yarns and use all different brands and stuff.