Close

Recycled Plastic Fat Bottom Bag


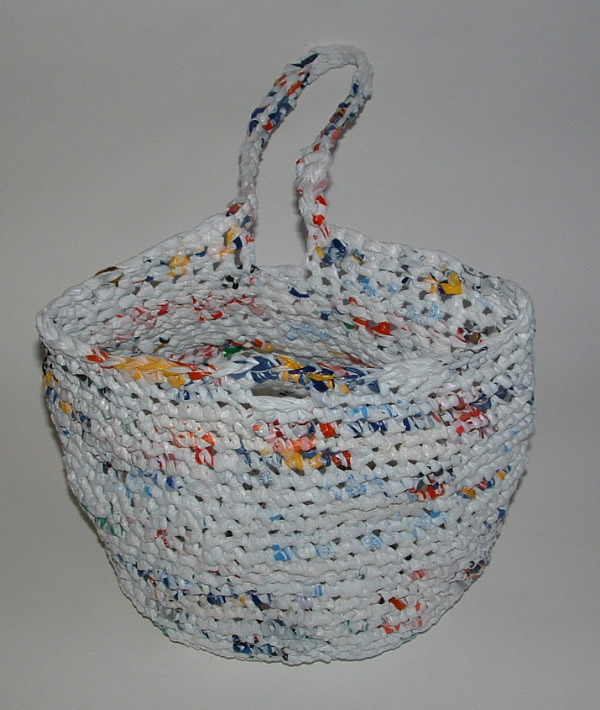
I present my plarn fat bottom bag that I crocheted using recycled plastic newspaper bags. You may remember me saying that it is difficult for me to obtain pretty colors in plastic bags for my crafting. Well thanks to a suggestion from a blogger friend, I asked my local library to save their newspaper bags for me. They have been giving me one pink and one orange plastic bag daily from their newspapers. Anyway I saved up the plastic bags and crocheted my first fat bottom bag.

You may notice that the pink shade on the last few rounds of the bag and handles are darker. That was because the newspaper company changed the color of bags they were using. At first I was upset that I couldn’t finish my recycled bag using all the same color of pink but then once I was forced to use the darker bags, it turned out to be a nice contrast for the finished project.

As I mentioned this is my first fat bottom crocheted bag. The original pattern in written only in Portuguese. But there is an English chart and a wonderful tutorial including the lining over at Bend Beanies Blog which is a life saver. She has great pictures and helpful tips to help translate this awesome free pattern.

Below you will find some pictures I took as I worked the pattern.
Earthtone Crocheted Kitchen Sets

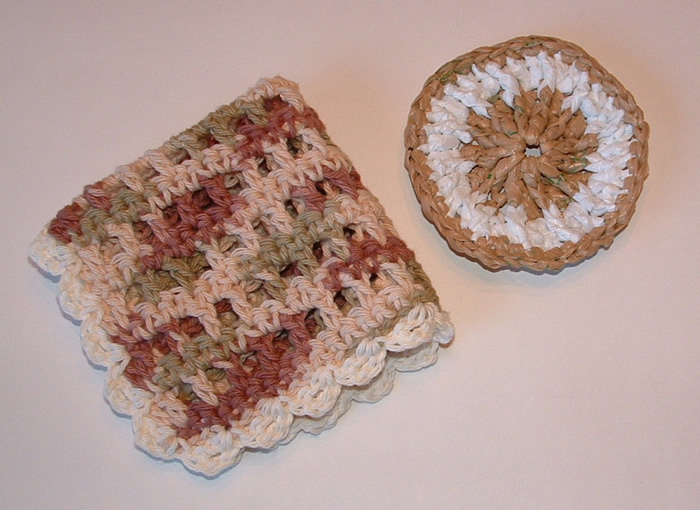
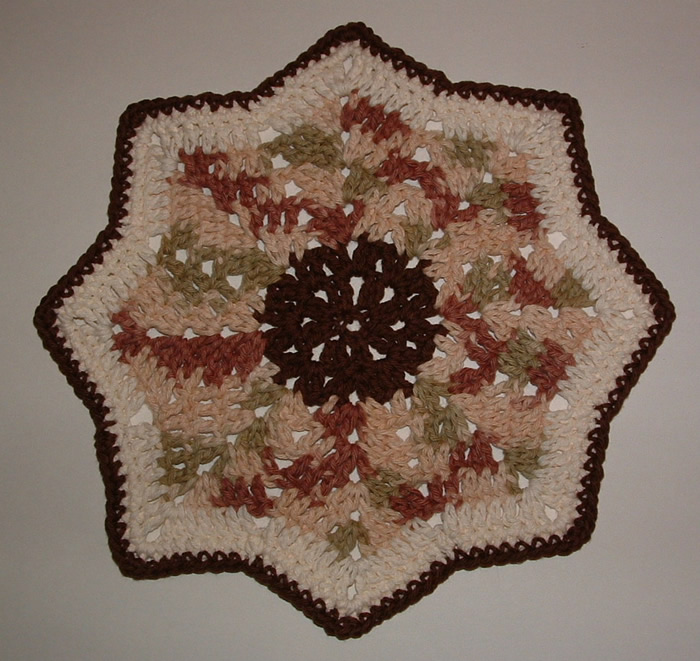
I finished up this crocheted earthtone kitchen set for my Mom’s birthday. It includes a round ripple dishcloth that I made using Julee’s RR dishcloth pattern. I changed it up a bit and made the center flat.

Below is my open mesh magic dishcloth along with a scrubbie dot I crocheted using recycled plastic bags.

Click on photos to supersize them

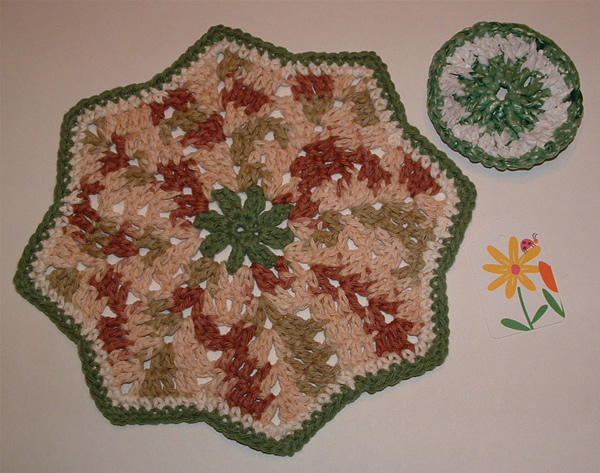
Next is a hostess gift I put together for a friend. It includes another RR dishcloth and a plarn scrubbie dot. The little flowered tag is cut from a recycled greeting card. I thought it matched the gift and look perfect for a Spring gift so I used it as my gift tag.

Anyway just wanted to check in with everyone and show some of my recent crocheting. I’ve am busy finishing up a fat bottom bag I am crocheting from pink plastic newspaper bags and just started a special order purse being crocheted from vcr tape for a repeat customer of mine. I will be back soon to share all those recycled craft projects with you as soon as I get them done.
Happy crafting everyone!

Green Easter Basket

My Easter basket project this year uses the bottom of a laundry soap bottle and plastic bags. I cut the bottom off a plastic soap bottle and used it as a base for my Easter basket. I then crocheted around the base and up with recycled plastic bags or plarn.

The pink bunny was crocheted using AmiAmour’s free crochet pattern found here. This is my first official ami animal and while I’m not going into the ami making business, I was pleased with the outcome of my Easter bunny.

Oh and I used cut up plarn for the grass in my Easter basket. That way it can be recycled after the holidays into another project. Happy Easter!

Free Pattern for Recycled Plastic Easter Basket

Materials needed:
Plastic bags cut into 3/4″ strips of white bags (3-4 bags)
And approx. 4-5 bags of green and yellow plastic bags
1) Plastic handle from a soap box or other plastic strap
1) Plastic laundry soap base cut from bottle
Metal punch and hammer for making holes in plastic base

Hooks: H (5 mm) US sized metal hook
and J ( 6 mm) US size crochet hook
Small Steel crochet hook for first round on base

Description: Recycled Plastic Easter Basket
Basket measures 7″ wide and 4-1/4″ tall with 20″ handle strap
at base 6″ wide and 3″ across.

Directions:
Using the base cut from a laundry soap bottle (mine was 6″ long and 3″ wide), punch holes around the base as shown in the photo. I used a metal punch and a hammer to put my holes in the plastic base.

Pink Baby Sweater Jacket

Here is my latest baby wearable I made for my granddaughter. I crocheted this cute pattern by Beverly called Cat’s Meow Toddler Jacket using Bernat Baby Jacquards. It is a fairly easy pattern but I did have some questions and I thought I’d clarify a few issues that I had as I worked the pattern.

First I wasn’t sure what the pattern was referring to when it read “Work over 26 patterns for 3 rows” after you finish the sleeves. I figured out it was talking about the vertically rows that this stitch pattern forms as you crochet the repeat pattern. I counted over 26 pattern rows which was about 10-1/2 inches from the sleeve edge and 4 inches from side edge in to neck.

Next I found that the border needs to start on the left side as you are looking at it which is the actual right hand side of sweater. I also found that it was easier for me to do the buttonholes on the right side of jacket by starting from the top edge and working down. Because I started at the top, I worked single crochet (sc) stitches in the first 8 stitches from the collar down to the first buttonhole. Then I worked the first buttonhole ch 2, skip 2 sts, and then worked sc in the next 8 stitches and repeated down to bottom of the right side.

I finished off the border by working a sc around in each st and 3 sc in corners the same as row 4 calls for in the pattern. I worked the collar’s first row by sc in each st and then skipping every 4th stitch but then I worked the remaining rows of the collar by sc in each stitch and 3 sc at collar points. I edged my sweater jacket with white contrasting yarn by working sc around the collar and cuffs and then I crocheted the ruffled edging around the rest of the sweater.

I hope my notes may help anyone else that may have questions working this pattern. It’s really an adorable finished baby jacket and I can’t wait to see my sweet granddaughter model it.

Plastic Ditty Bag


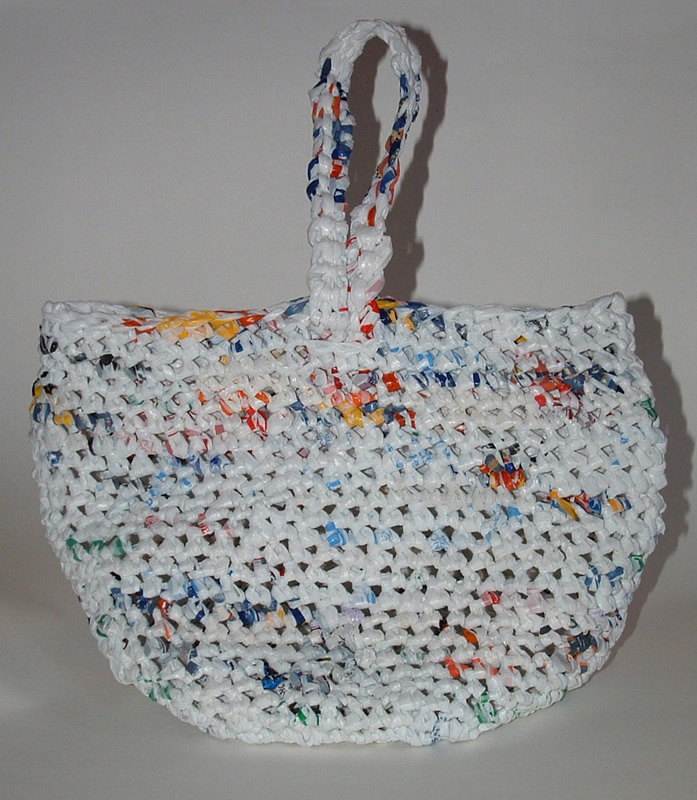
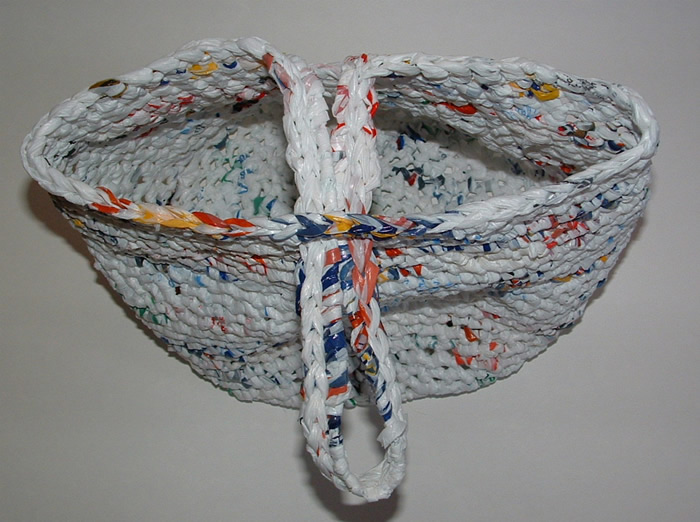
I fell in love with this crocheted ditty bag pattern when I first saw it. It’s so cute and has a handy strap that threads through the front of the bag. You may recognize this pattern by Dot Matthews that she created and used regular worst yarn to crochet her bag. I wanted to try crocheting the pattern using recycled plastic bags or plarn. Here is my finished plastic ditty bag.

Because plastic bag yarn is thicker, my ditty bag came out a bit larger than Dot’s bag. I followed Dot’s pattern except that I had to crochet 27 rounds before doing the handle rather than her pattern that calls for 22 rounds. Other than that, I crocheted the bag according to the free pattern available here.

Click on any of the photos to supersize

My finished plastic ditty bag measures 7 inches tall, 7 inches across the bottom and has a 14 inch long handle strap. So whether you want to crochet with regular yarn or plarn, this pattern makes for a cute ditty bag and would be wonderful reusable gift bag project too.