Close

Homemade Hummingbird Food

I made my own hummingbird food this weekend. The hummingbirds just love my homemade juice. They are drinking it up so fast I can’t believe it. In the past I had the red granulated mix that you buy from the store, but this week I ran out. So I tried my own homemade brew for the birds. I used the 4 to 1 mix which is 4 cups water to 1 cup sugar. I did not use food coloring and the birds don’t seem to care at all. They are still attracted by the red on my feeder and don’t need any artificial coloring.

Just check out these shots of one of my girls enjoying her natural hummingbird food. So if you feed hummingbirds, please consider making your own diy food. It will save you money and the hummingbirds will love your homemade brew!

My Recycled Business Cards

Ever wonder what to do with all that junk mail? Some of it is very pretty — like those colorful gardening and flower magazines. Well I’ve been saving them along with old greeting cards, cereal boxes, and other junk mail to create my own recycled business cards and tags.

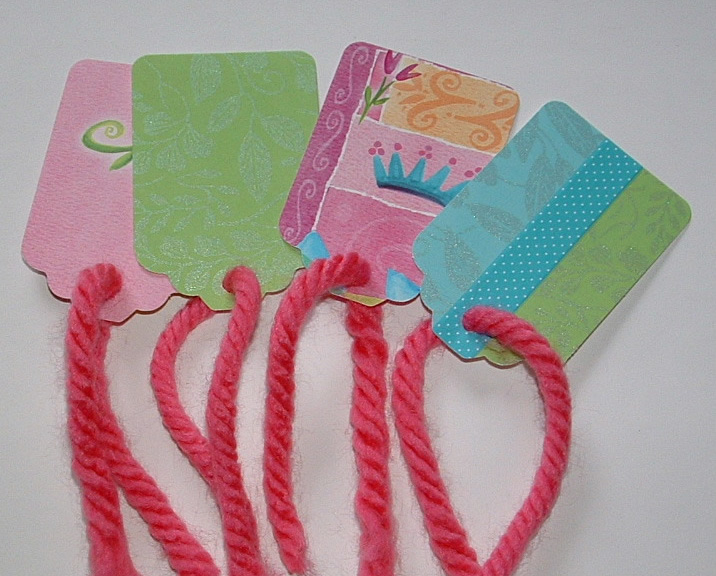
Here are some tags I made using old greeting cards and junk mail. I cut out the tag shapes using this die-cutter I purchased. I then used my green line stamp to stamp the backs of the tags creating my business cards. I chose to use a tag shape as I can use these to attach to my products as well as use them as business cards.

Above are more flower catalogs and greeting cards that I cut using my die-cutter. I plan to use these as gift tags for birthdays and Christmas. Just punch a hole at the top and attach a piece of yarn or ribbon to finish off the recycled gift tags.

So whether you need business cards, gift tags or both, consider recycling your junk mail and cards. They are very pretty and unique tags and a wonderful way to make your own business cards.

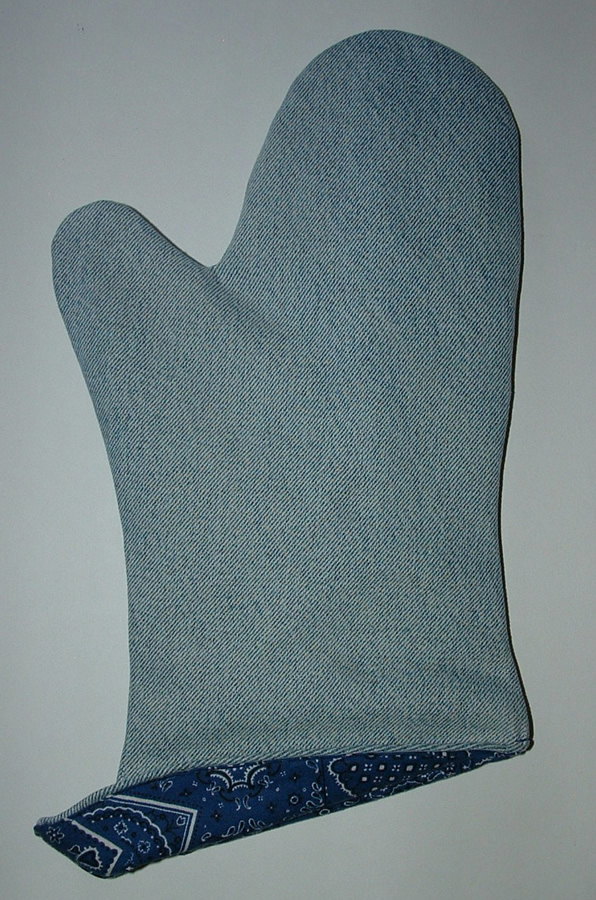
Recycled Denim Oven Mitt

Recycling your old jeans into new and useful things is fun and frugal. The denim recycled from old jeans is very durable and the fabric is very versatile. Oh and the best part, when you recycle denim from materials you have on hand, its FREE.

Today I want to share how to make an oven mitt from your old jeans. There are several good tutorials on the Internet showing how to create a homemade oven mitt. (Edit:) Here is a oven mitt template you can use. The original one I used is no longer free so the link has been changed to one that is free.

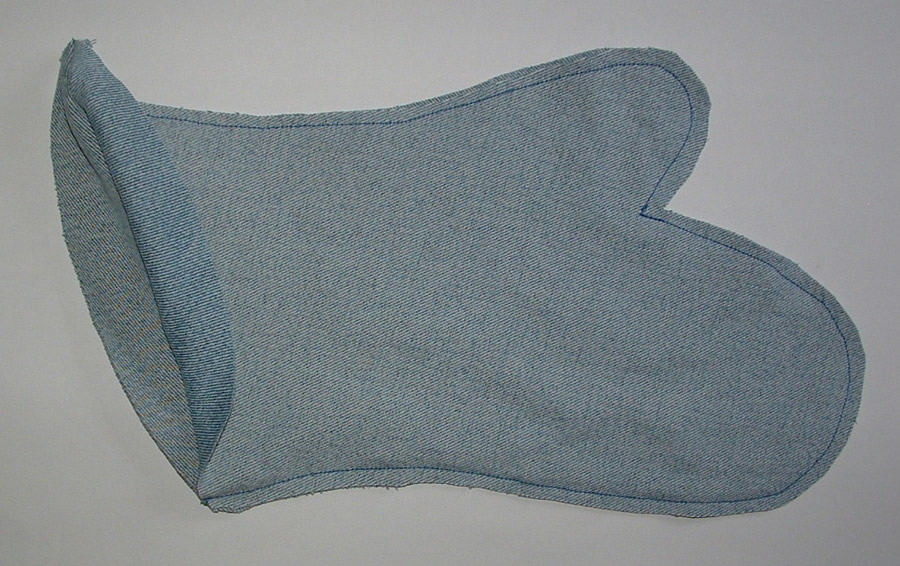
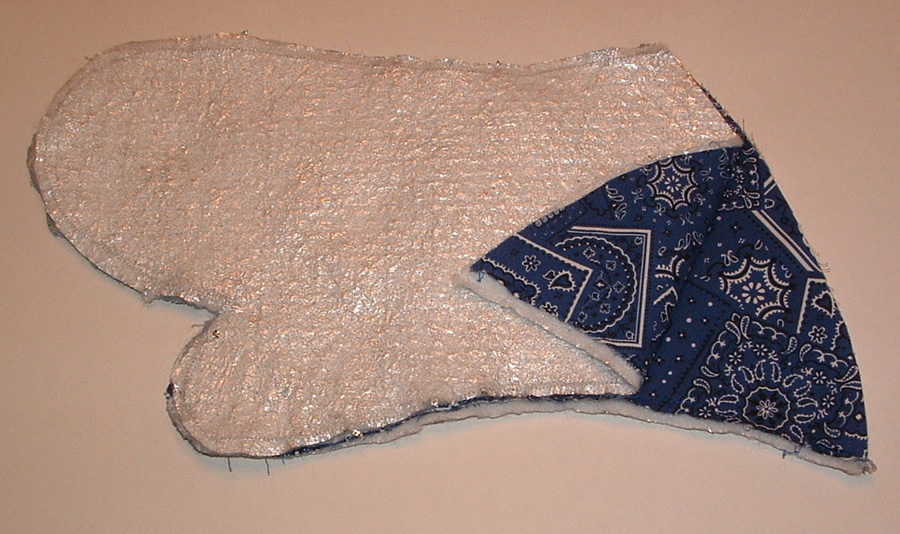
Cut two denim panels using the mitt template. Then cut two from fabric for your lining and two for your mylar batting. If you don’t want to use store bought mylar batting, just cut two pieces from old towels but make sure they are thick so you get enough protection for inside of your mitt.
Click on any photos to supersize

Because denim is so hard to machine sew through several layers, I assembled my oven mitt in two pieces. First pin the two denim panels together with right sides together. Machine sew the two denim panels together using a narrow hem around the mitt. Leave the end hem unfinished at this point. Trim curves and clip at thumb turn. Turn wrong sides to the inside. Using a pencil’s eraser end, push out the thumb and edges. Press with hot iron and turn under a narrow hem along the unfinished edge of the denim mitt shell.

Next put the two fabric lining panels together with right sides together. Then add a batting layer to the bottom and top of your lining insert. Pin in place and machine stitch a narrow hem around the mitt. Leave the end hem unfinished for now. Trim edges and clip at thumb curve but don’t turn. Turn under a narrow hem and press with a hot iron along the unfinished edge of the fabric lining.

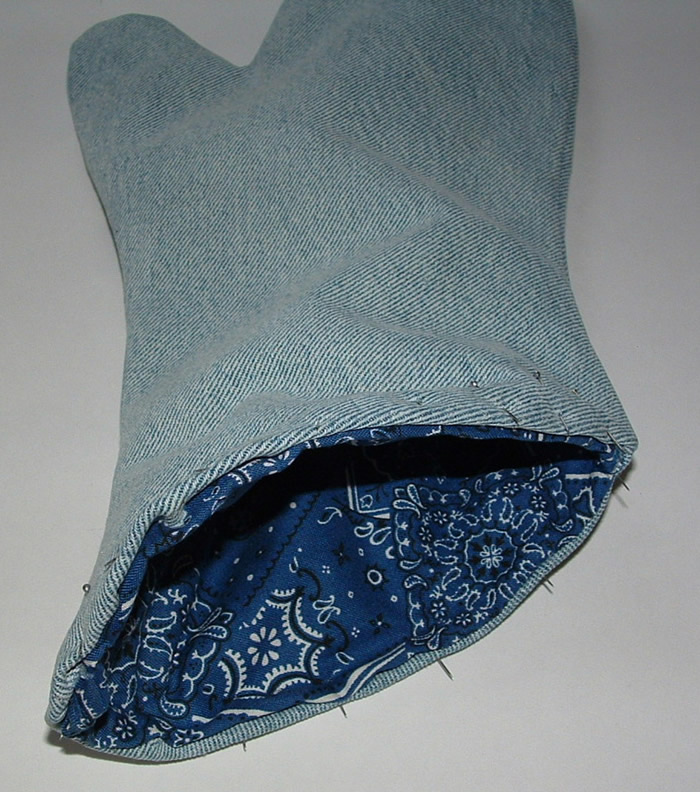
Lastly insert your fabric lining inside your denim oven mitt. Check fit and trim edges if necessary so the insert fits nicely inside your denim mitt shell. Match hem edges and pin the two edges together. Machine stitch very close to the edge to enclose the hem of the denim panel and the lining insert. Fold over the edge if desired to show off your fabric lining or add embellishments to the outside of the mitt.


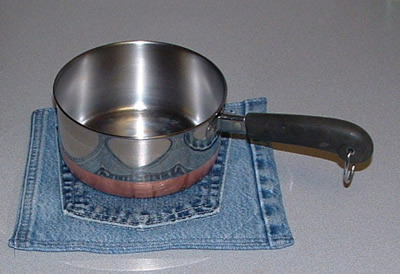
Need a potholder to go along with your oven mitt? You can add a denim potholder that sports a pocket from a pair of jeans to create a cool recycled denim kitchen set.
Greenhouse Raised Beds

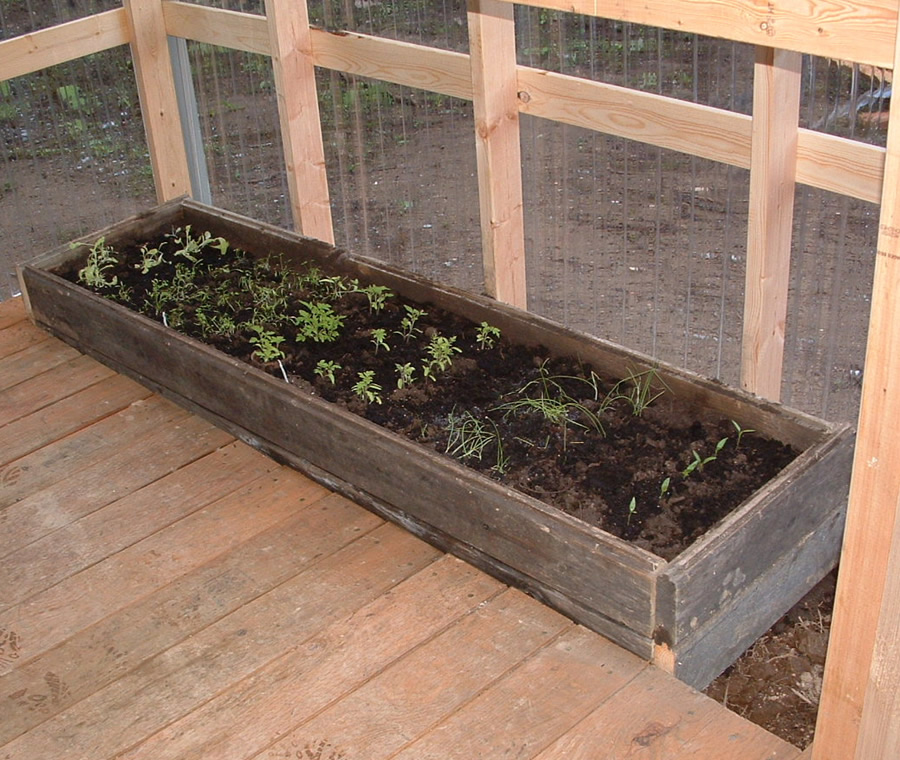
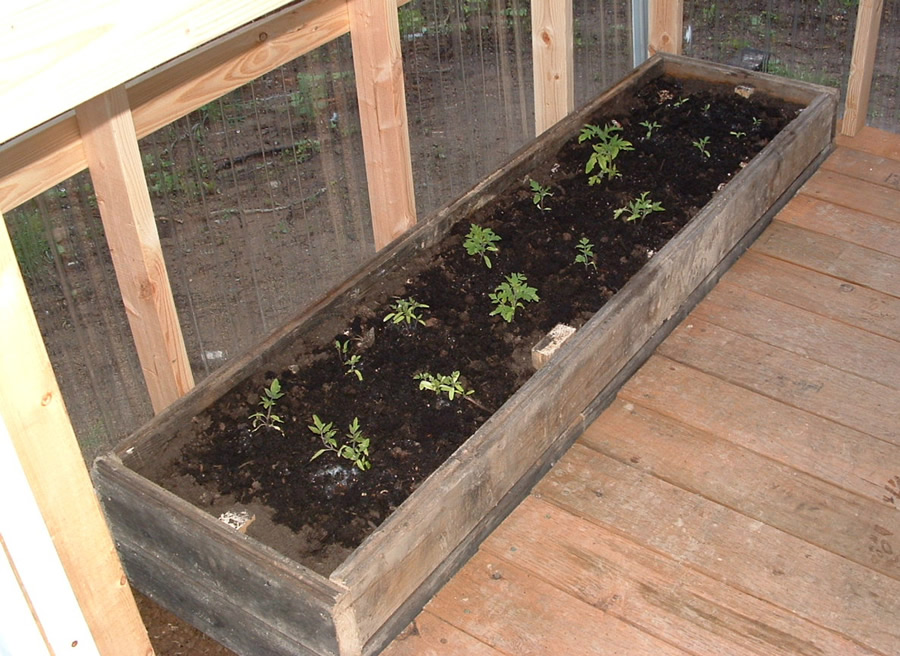
As I continue on my gardening venture, I am happy to report that my raised beds have been added inside my new greenhouse. My dh built raised gardening boxes on each side using old recycled boards that we had leftover from an old fort we tore down. He built both boxes and then installed them along the sides.

Here is the first box when it was done and filled with organic topsoil. I started my seedlings in the house and got them transplanted this past weekend. Here is my carrots which were more than ready to be replanted as they had outgrown my egg carton I recycled for a seed starter.

Here is a final photo of both raised beds with my tomatoes, carrots, onions, lettuce and green peppers. I think my veggie seedlings are happy with their new home inside the greenhouse. Now if it would just stop raining so the sun could shine on my greenhouse I’d be happy.

Spike Stitch Tote Bag

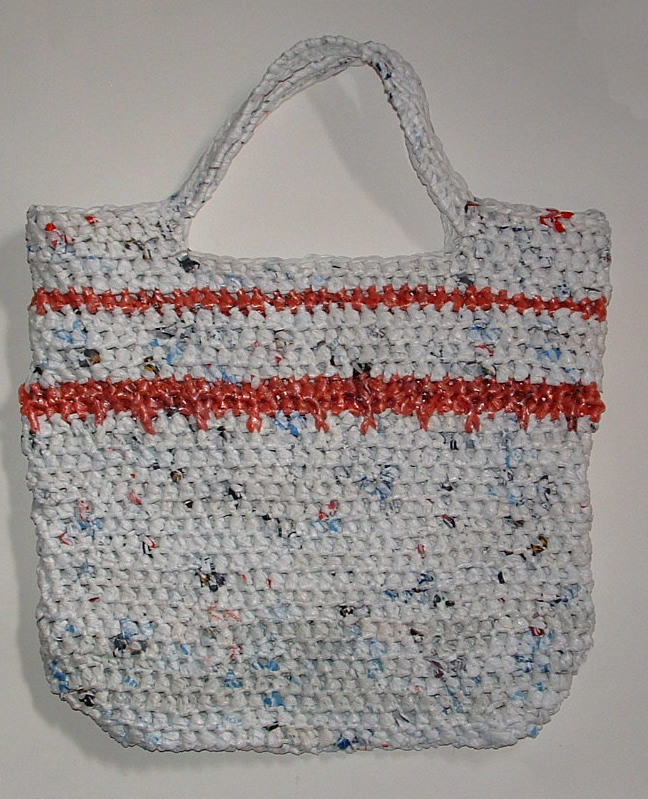
Here is my latest recycled tote bag which features spike stitch striping. I added the recycled pink newspaper plastic bags in an effort to spice up my mainly white tote bag. It’s amazing how just a few brightly colored bags can add a nice touch to a plain-looking bag.

So if you only have a few colored bags, you might want to try this crochet pattern to add some diversity to your tote bag project. Should anyone be interested in purchasing this bag, it is available on my products page for sale. For all those crafters out there who make their own recycled tote bags, please enjoy my free plarn pattern below.

Spike Stitch Recycled Plarn Tote Bag Pattern

Materials needed:
One large ball of plastic bag yarn aka Plarn
Approx. 50 plastic grocery bags – white in color
One smaller amount of pink plarn – Approx. 8-10 bags

Hook: N (9 mm) metal crochet hook
Description: Recycled Plarn Tote Bag
Bag measures 14″ wide and 13-1/2″ tall with 12″ handles

Directions:
Ch 26 with white plarn.