Close

Double Layer Towel Toppers

I have been working on a project of crocheted towel toppers. I wanted to be able to create the topper without cutting and eventually not having to machine sew the top of the towel. Another goal of the project was to have a double layer 2-ply towel. Here is my first finished double towel topper below.

All photos are clickable to view supersized
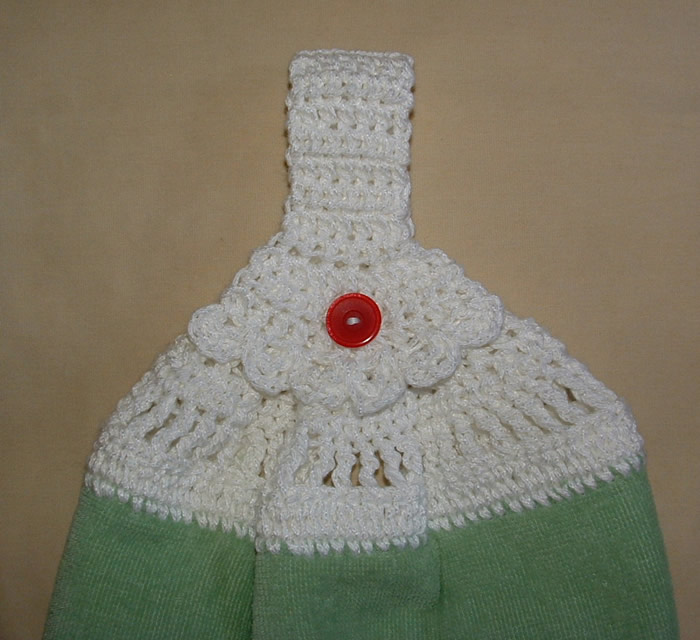
Here is a picture tutorial and free crochet pattern below for making a double towel topper.

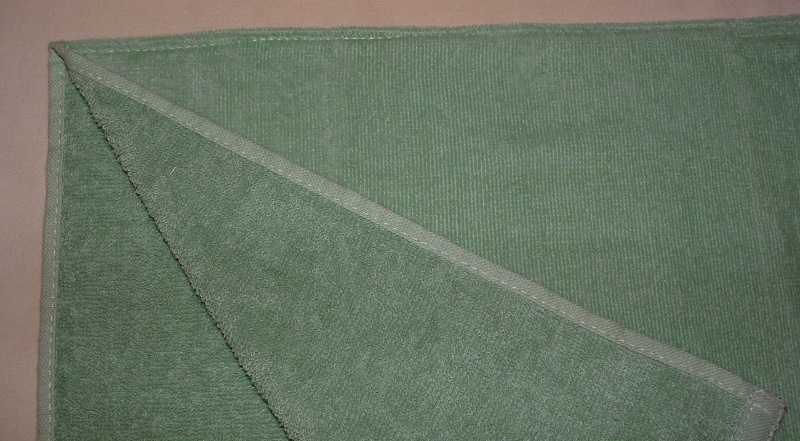
Fold the towel in half with right sides facing out. Machine stitch along the top edge using a basting stitch.
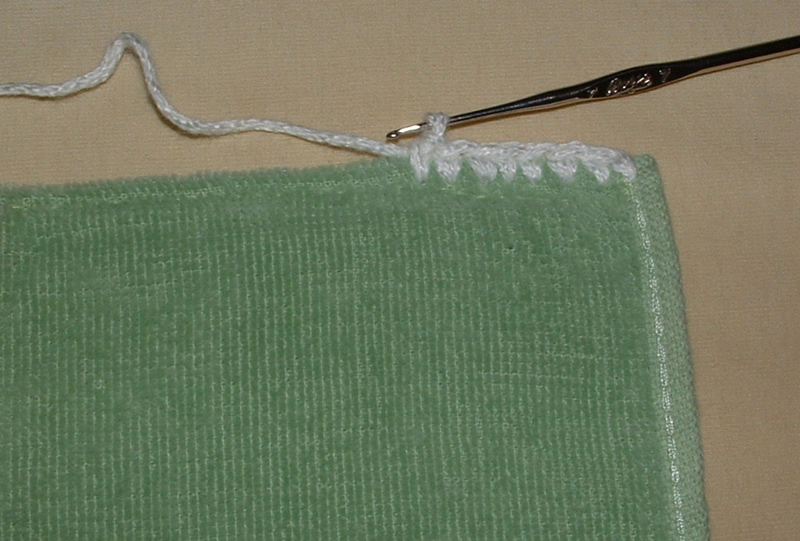
Then using some cotton blend sport weight yarn and a steel #7 crochet hook, single crochet along the top edge through both layers of the towel.

Here is another method I used where I did not machine stitch along the top edge. The steps are fold, press, pin, and then single crochet along the top edge of the towel through both layers.
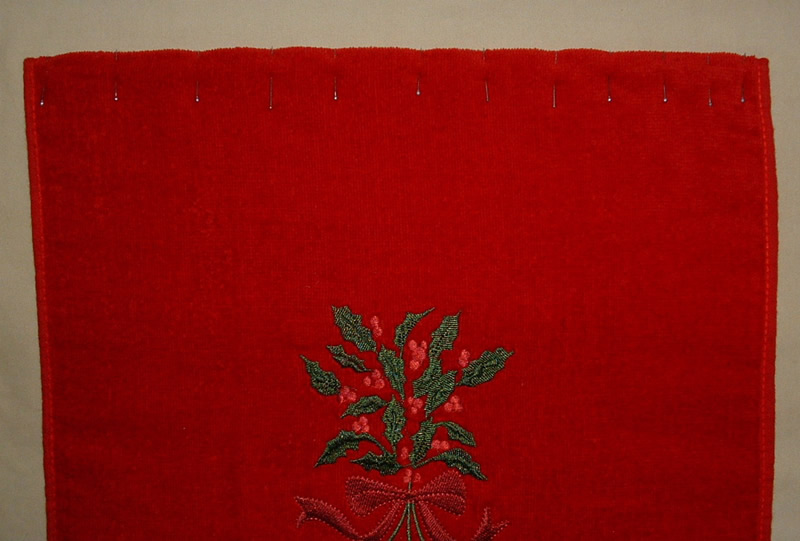
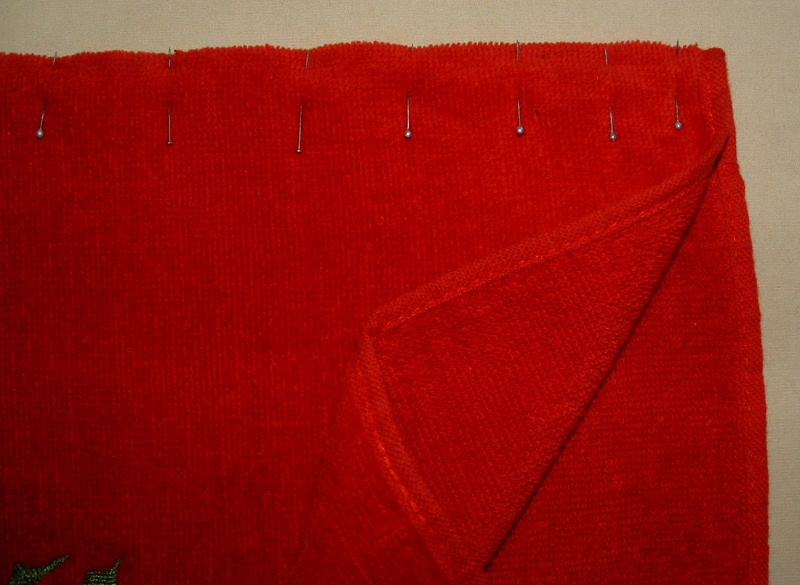
Again I used a steel crochet hook #7 to poke the holes for the first row. Then I switched to a “G” crochet hook after the first row to finish the towel topper.

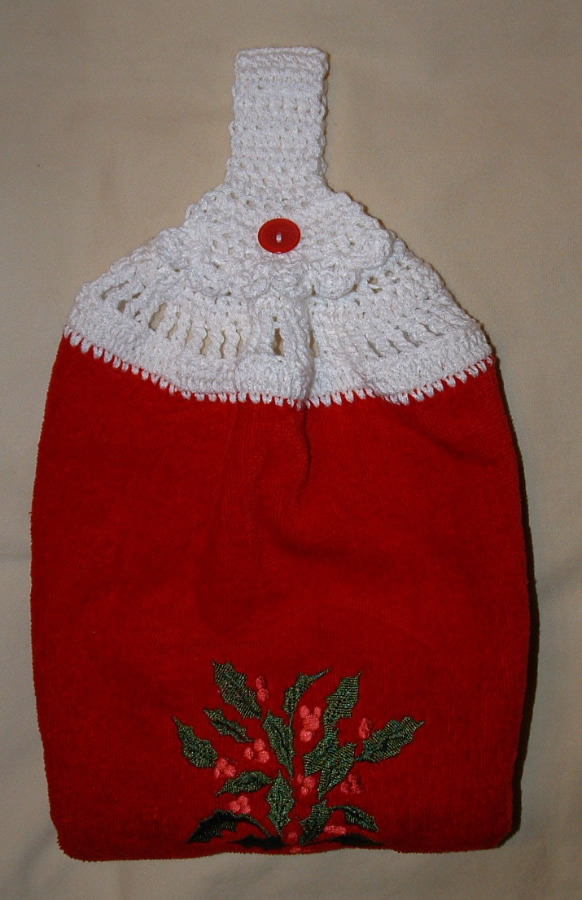
Finished no sew double towel topper which I call the fold and pin method.

Free Double Layer Towel Topper Crochet Pattern

Materials needed:
1- Kitchen towel or decorative towel
1- oz. Red Heart Carefree Cotton Blend – White used
1- 3/4″ button

Hooks:
#7 Steel hook
G (4 mm) USA size hook

Directions:
Using either the fold and stitch or fold and pin method, prepare top of towel to begin Sc stitching along top edge. […]

Barbie’s Red Dress

Does your Barbie need a new red dress? If so, here’s a little number I crocheted using some scrap yarn I had. I’m actually experimenting with this pattern to crochet a Barbie dress using recycled plastic bags. I wanted to test the pattern first using regular worst acrylic yarn to see how it looked as it’s easier to frog with yarn than with plarn.

My first attempt with the pattern resulted in this little red dress for Barbie. The picture is clickable if you want to see an enlarge photo of the dress. I will now attempt another dress using plastic bag yarn with a few minor changes. Anyway I did write up the pattern and wanted to share this free dress pattern with everyone.

Barbie’s Red Dress Pattern

Materials:
1 oz. red acrylic yarn
1 small button
Small amount of ribbon for waist tie

Hook: G (4 mm) size crochet hook

Ch 13.

Felted Blue Handbag

I have simply fell in love with felting bags. Here is my latest bag which is a blue handbag with variegated wool yarn for the flap trim and the strap. I crocheted this handbag using 100% wool and felted it an extra long time as I wanted my final product to be very tight. This easy pattern works up very quickly and makes for a fun felted project.

As always, below is the free bag pattern so you too can create this cute little handbag. Enjoy!
********************************************************************************************

Felted Handbag Pattern

Purse measurements:
Before felting – 10 inches wide and 8 inches long with 48 inch strap
After felting – 7-1/4 inches wide and 6 inches long with 19 inches strap

Materials:
5 ozs -100% blue wool yarn
2 ozs -100% variegated wool yarn for flap edging & strap
3/4″ button for front closure

Hook: Metal G (4 mm) US hook

Chain 40

Felted Ipod Nano Cozy

Need a little cozy for your Ipod Nano? Well crochet yourself this quick and easy cozy project!

Free Pattern:
Crochet this cozy using about an ounce of 100% wool yarn with a “G” hook. Chain 13, single crochet (sc) in 2nd stitch from hook and in each stitch down to end of chain (12 sc). Working around the back side of chain, sc in each stitch to create a seamless cozy. Do not join. Continue working in rounds until your cozy measures 3-1/2″ long before felting (approx. 15 rounds.) Slip stitch into last few stitches of final round so your finished edge is smooth. Fasten off and weave under ends on the inside of your cozy. Finished size before felting was 3-1/2″ long by 3-1/4″ wide.

Place your completed cozy inside an old pillowcase and tie it closed with a knot. I felted my cozy 20 minutes on the hottest water I had with an old pair of jeans. Check your cozy after 8-10 minutes of agitation to make sure it hasn’t felted too much. Mine needed more so I put it back into the washer. After a total of 20 minutes, mine was perfect. I pulled it out and cold water rinsed it in my sink. Shape your cozy so it’s square and check to make sure the opening is wide enough to insert your Nano. If it’s a bit tight, just stretch the opening a little. Air dry and shape as it dries if needed.

My final felted cozy measures 2-3/4″ wide by 3-1/8″ long. This cozy is a great way to use up scraps of wool yarn you may have on hand. Just make sure you use 100% wool so your project felts properly.

Here is my cozy with the Ipod Nano inside. It’s soft and thick so it protects the Nano nicely. This frugal project is much better than a store bought cozy plus its handmade!